
Hello! This is Koyamauchi from TCGAKKI Musical Instrument Repair!
This time, I’ve written about repairing a certain item.
That said, it’s not a musical instrument.
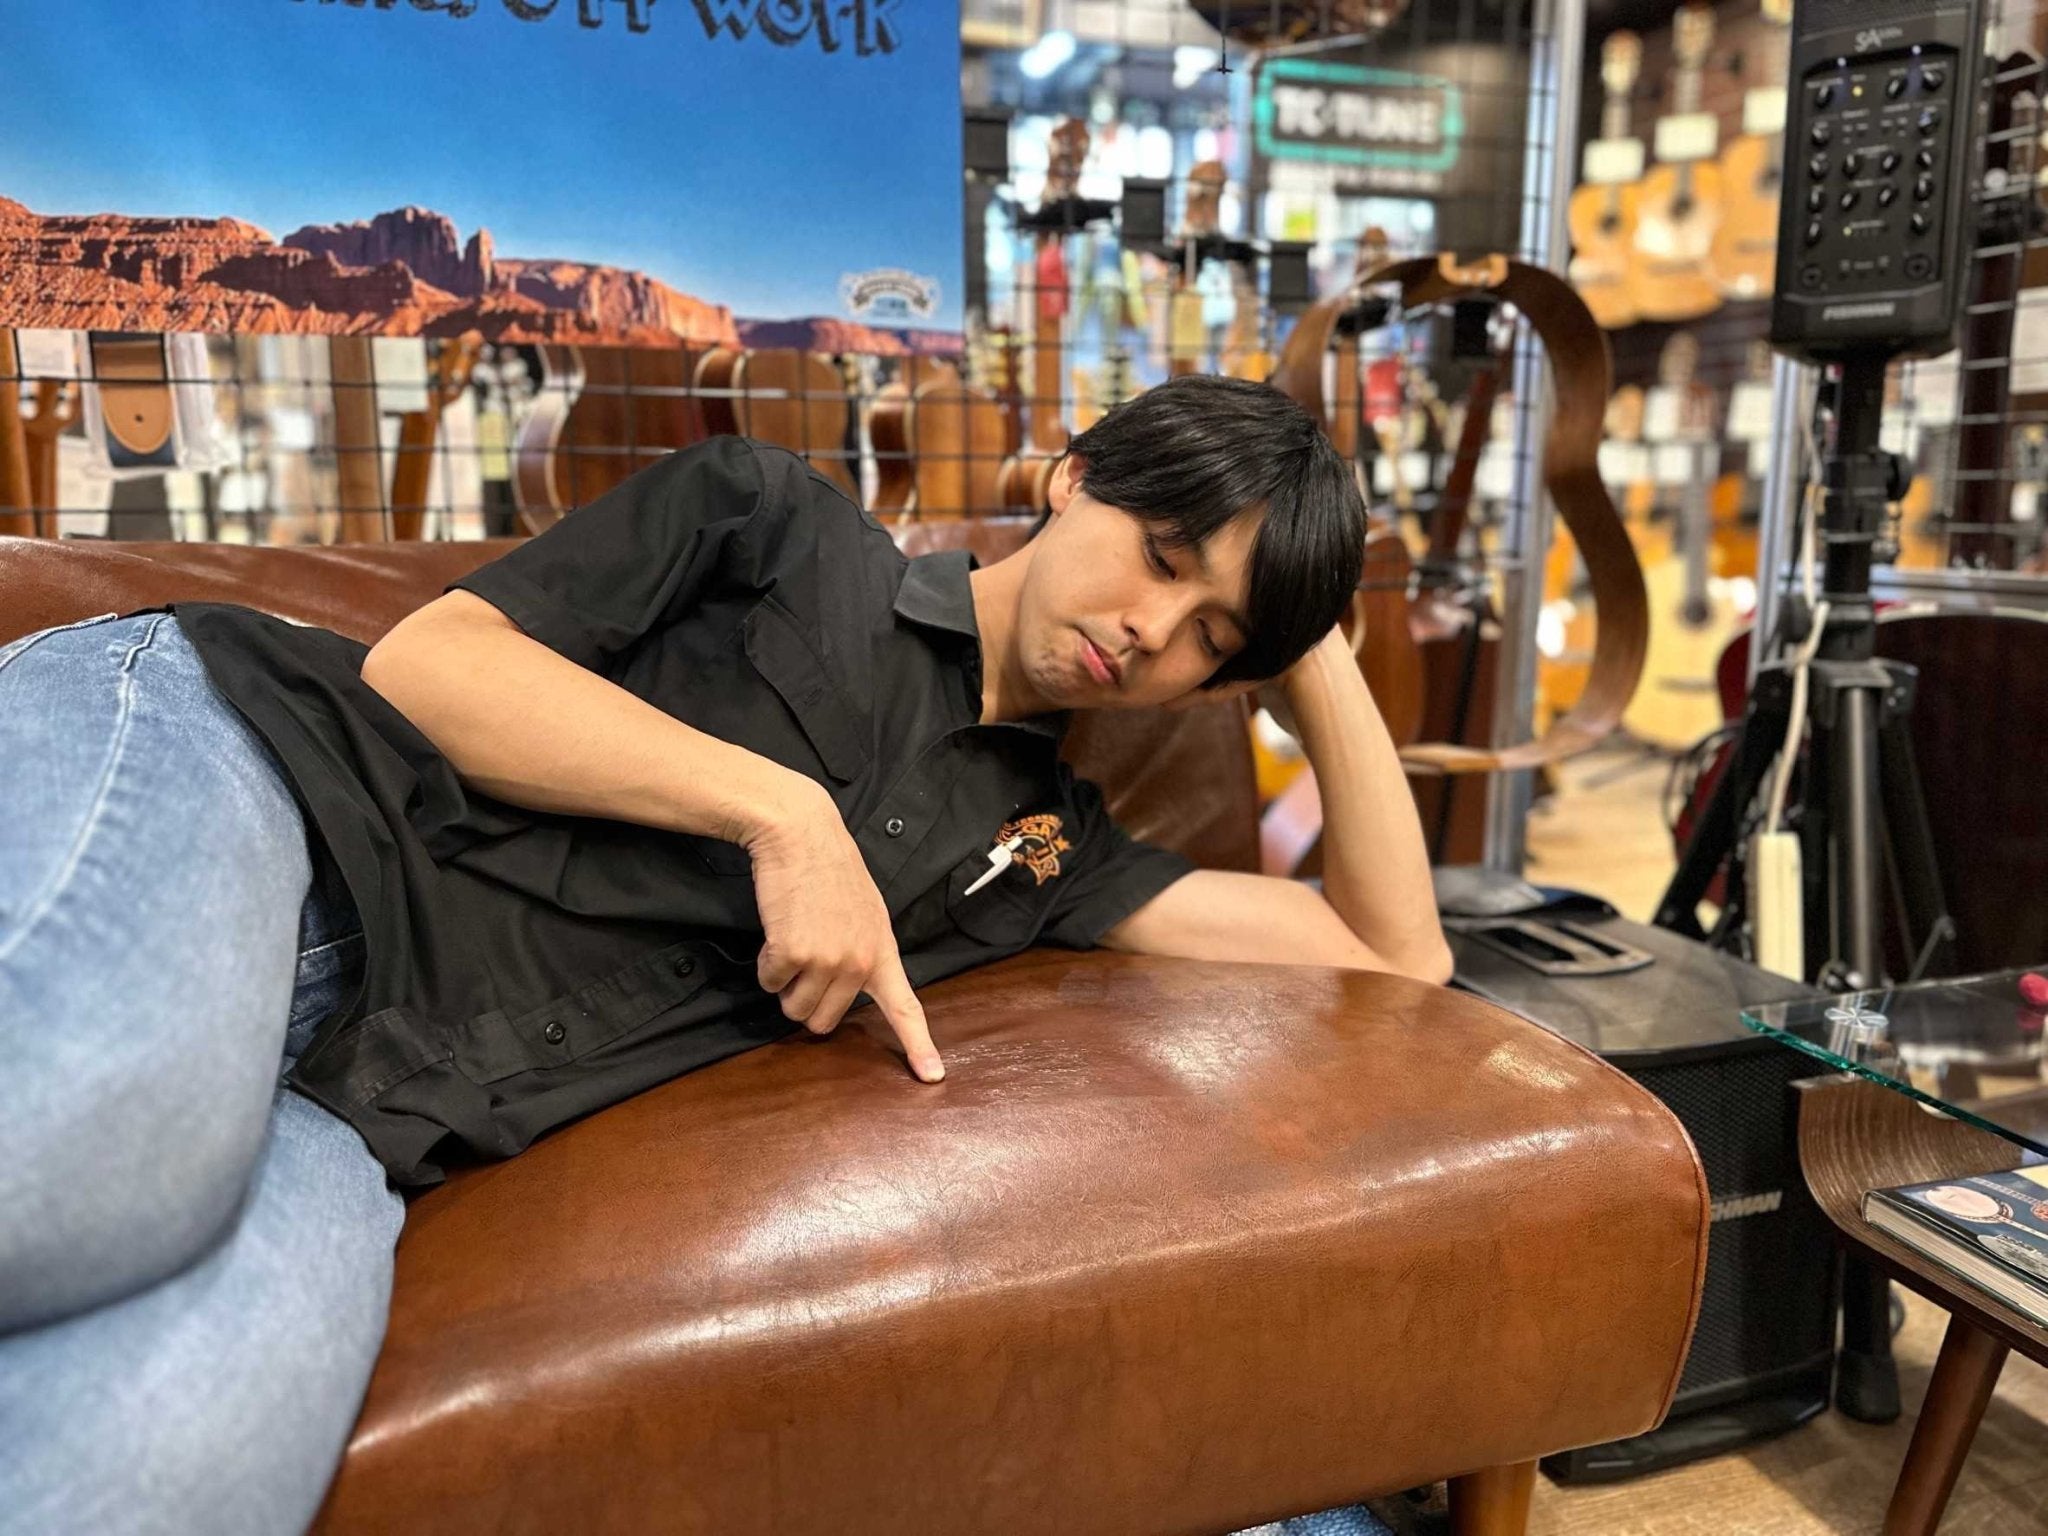
Here’s what I’m repairing this time!

That’s right—it’s a sofa.
This sofa is used in the demo area at Advance Guitars.
As for what needs repairing, it’s this cut.

At some point, the surface had been sliced open.
So, I’m going to work on making this cut as inconspicuous as possible.
Here are the tools I’ve prepared for this job.

Most of these aren’t tools you’d typically see used for instrument repairs.
First, I’ll “reinforce” the split and frayed section of the leather.

I applied synthetic leather tape to the inside to hold the gaping section together. Next, I applied putty cream to the damaged area to fill in the unevenness.

I’ve applied it.
I’ll let it dry overnight to harden.
The next day, the putty seemed to have dried thoroughly, so I’ll sand it down to smooth out the unevenness with the surface.

I’ll sand it down using this pad and #320 sandpaper.
As the unevenness disappears, I’ll gradually switch to finer grit sandpaper: #600 → #800 → #1200. I’m done sanding.
You can feel the difference in material when you touch it, but you can’t tell there was a cut at all.
Since the putty turned out well, next we’ll apply some color.
Let’s use color cream to blend it in with the surrounding area.
Start by applying a lighter shade and gradually build up the color.

Now that the color has been adjusted, let it dry for a few hours.
↓
If left as is, the paint will peel off, so I’ll apply a topcoat
↓
Since brush strokes leave marks, I’ll finish by applying the color with a pad.
It’s hard to see since it’s transparent, but I’ve finished applying it.
I’ll let it dry overnight. The next day, it was completely dry.
It’s a bit too glossy, so I’ll use steel wool to blend it in with the surrounding area. What do you think?

It’s not to the point where you’d say, “I can’t tell at all!” but I think it turned out pretty good.
It’s also quite stretchy, so sitting on it is no problem.
Now, anyone coming in for a test play will be able to sit on it without any issues.
So, that’s how I went about repairing the sofa.
I think it turned out pretty well for my first try.
Please come visit Advance Guitars and try sitting on this sofa for yourselves!
This was Koyamauchi!
